|
The first time
you open GIMP you will see three different components. One will be the GIMP Tip
of the Day, one will be the main control panel and the third will be the Layers dialog box.
I usually work without the dialog box but it is always accessible by going to Dialogs>Layers or by hitting CTRL+L
on your keyboard.
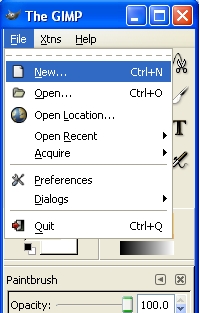
Now we’re ready to start looking at working with GIMP. On
the main control panel go to File>New.
Now we’re ready to
start looking at working with GIMP. On the main control panel go to File>New. You can enter in height and width in a variety of different measurements (inches,
pixels, millimeters, etc.). We commonly use pixels. For the tutorials we’ll be using 500 by 150 pixel images but the standard avatar size is 100 by 100
pixels. Sometimes you will run into a site that wants 60 by 60 pixel graphics
but it’s not very common.
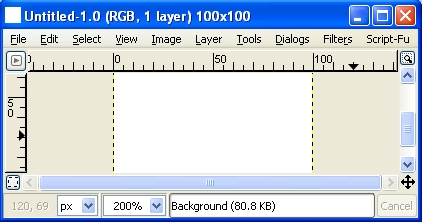
Suppose we enter 100 by 100 pixels for the height and width. Press
OK and your image will be created. When I make avatars I like to zoom in twice. You may not, but for the moment let’s do that.
Go to the zoom tool (the magnifying glass) and make sure it is set on “Zoom in.” Go anywhere on your image and hit the left mouse button twice.
Now I maximize this window. You have what I call the base image. Now suppose we actually
want to make something with it.

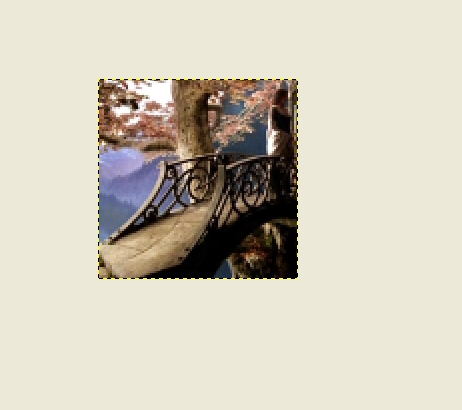
Go HERE. Right click on the picture and save it to your computer. Now go back to GIMP and go to File>Open. Open the picture.
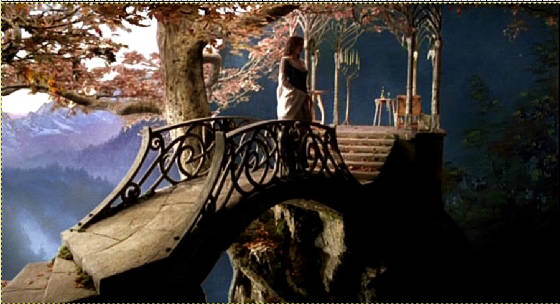
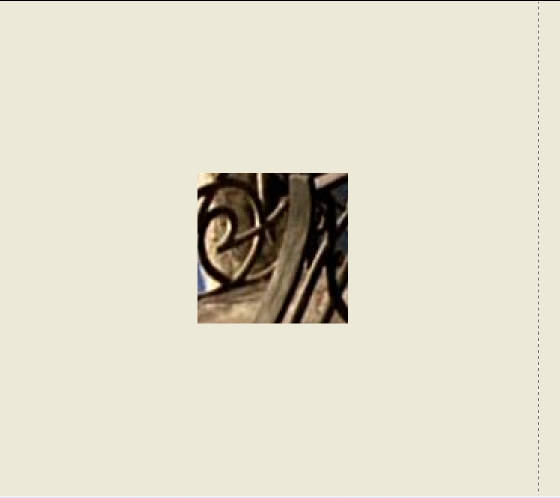
Now go to the rectangular
select tool (top left hand corner of the main control panel). Make sure that
feather edges and Auto-shrink selection aren’t selected. Go back over to
your Arwen picture. Now click somewhere with the left mouse button. Continue to hold it down and move the mouse to make a rectangle.
To make a square, hold the SHIFT key down at the same time. When you have
a square the size you want, let go of the left mouse key and the SHIFT button at the same time.
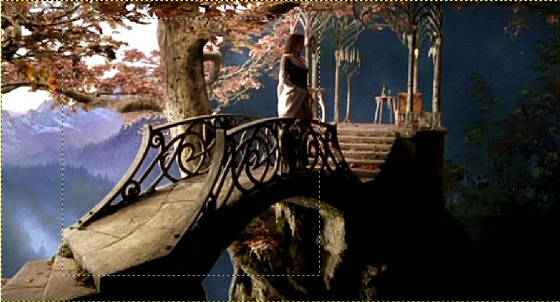
Then hit CTRL+C on your keyboard. Go back to your base image. Hit CTRL+V
on your keyboard. Move the layer that’s been pasted up:
Now right click and go to Layer>Scale
Layer. Select a height of 102 pixels and hit okay. Reposition the scaled down layer so that it fits over the base image.
To anchor the layer, go anywhere outside of the layer—you
will know you’re outside of it when an anchor symbol appears above the rectangular select symbol. Left click.
|


