|
Using the text
tool is pretty simple but there a number of special effects that you can use to make your text interesting.
THE BASICS
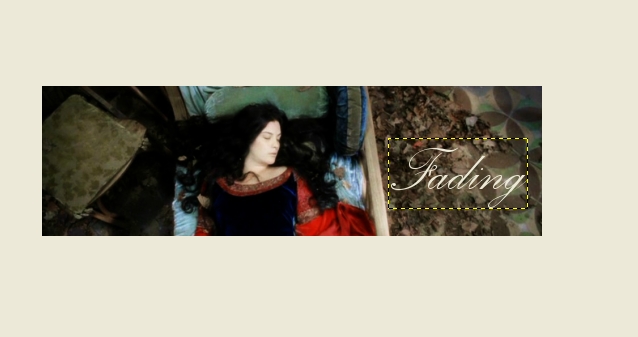
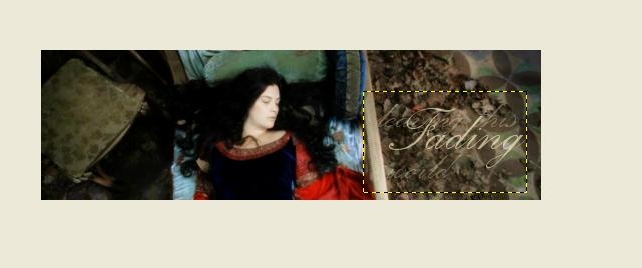
Go to File>New and create a new image 500 pixels
wide and 150 pixels tall. Go to THIS PICTURE. Save it, copy and paste it into your base image. Scale it down to 510 pixels wide. Shift it so that Arwen is
totally visible. Anchor the layer. Now
go to Tools>Color Tools>Brightness and Contrast. Shift the contrast to
about 40. Now go to the main “control panel”. Go to the text tool. Choose the Palace Script font. Change the color to “ece9d7” and the font size to 76.
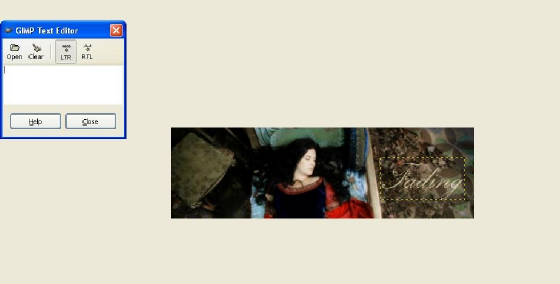
Click on the right side of the picture. Write “Fading.” in
the Text Editor box that pops up.
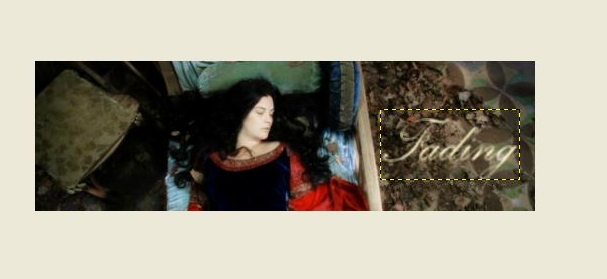
So consider this the first
step. It is a graphic although not a very sophisticated one. We can apply several effects to make it more interesting.
ERASING
I’ve
already written a fairly detailed explanation of how to do this but here’s a way to think about it a little differently: You can use the erasers to add to the meaning of the text. We will use the image we just made.
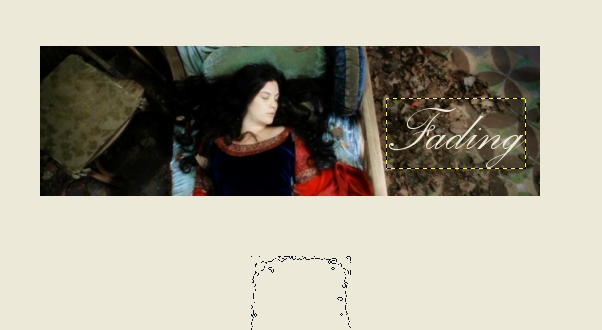
Go to the eraser tool. Set the opacity to 21. Erase the whole
“Fading” once. Now go back and erase the “ading”. Continue to erase one less letter each time.
Erase the whole thing one more time. You’re done.
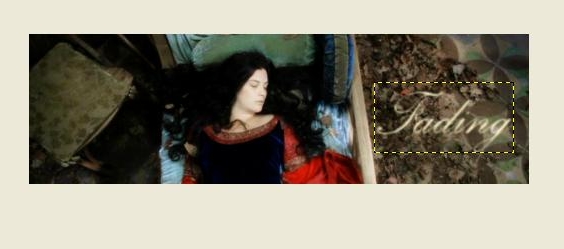
SOFTGLOW
Start where we started for
the erasing part. Go to Image>Merge Visible Layers and select Clip to Image. Now copy the image and paste it. Go to
Filters>Artistic>Softglow. Set the Glow Radius to 22, the Brightness to
.93, and the Sharpness to .85. Now go the eraser and erase the whole thing once. Ta-da!

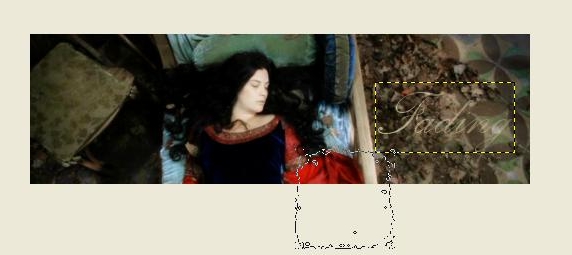
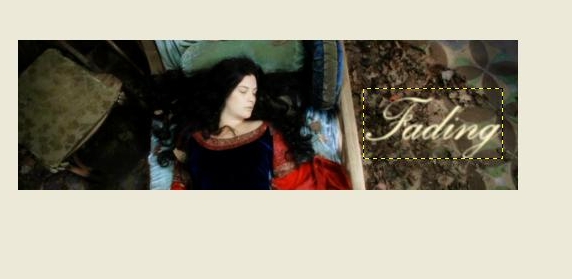
This is basically erasing
still but a little more advanced. Let’s start with the unerased “fading”. Now erase it twice. Go back to the text
tool and click somewhere else on the picture. Make sure you don’t click
in the yellow box since this will make you edit the “Fading” part. If
you really want to write directly on top of it you can make a new layer. Here’s
where we are at this point:
Now write something
else. I put “leaving this world”.
Erase this five times.
You can continue to build
up layers of text using this method and erasing any number of times.
BLUR
This one is pretty simple
but can definitely be effective. Go to Filters>Blur>Blur.
If you want to
control the amount of blur go to Filters>Blur>Gaussian Blur. You can change
the Blur radius to make it more or less blurry. (Actually, I’m only assuming
you can make it more blurry. I haven’t actually tried.
You can also copy and paste
the text (it won’t automatically blur). Then you have the blurry text underneath
with the solid text on top. I think this is an interesting effect.
|


